|
|
||||||
|
|
 |
|
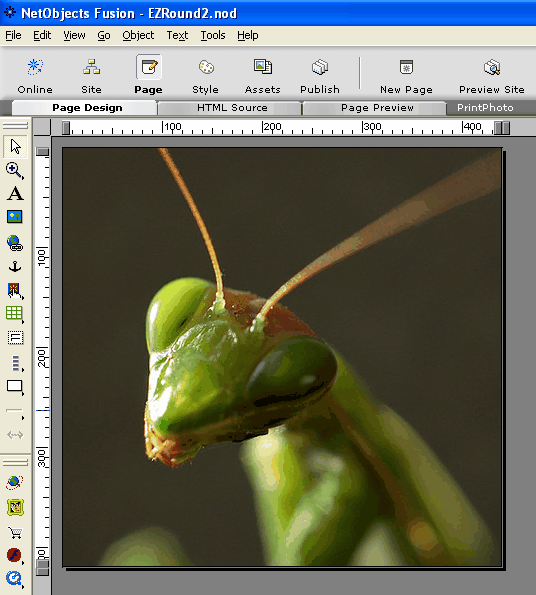
This tutorial will show you how to create a page that will automatically print when loaded. In Step 1 of this tutorial, we will create a page that has nothing but a single photo on it. This page will automatically print when loaded. The reason this works is because we are going to add a simple Javascript in the Head of the Masterborder for the page and then use the Javascript OnLoad command “inside” the body tag to fire that script as soon as the page is loaded. In Step 2 of this tutorial, we will create a link that (when clicked) will load the page as a new window so that the user is not distracted at the end of the print job and exits the website by closing the window.
Step 1 - Creating the automatic print page
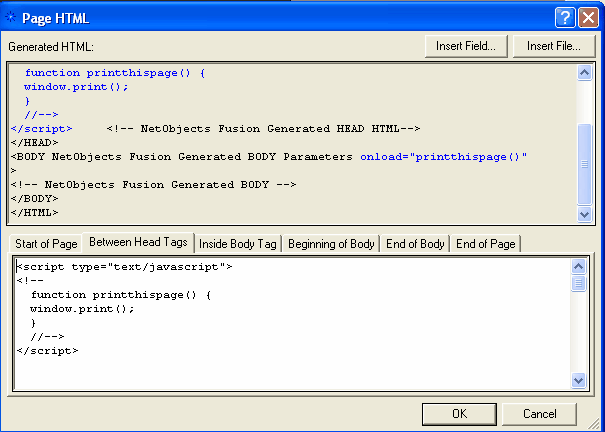
You can highlight and copy the script here:
<script type="text/javascript">
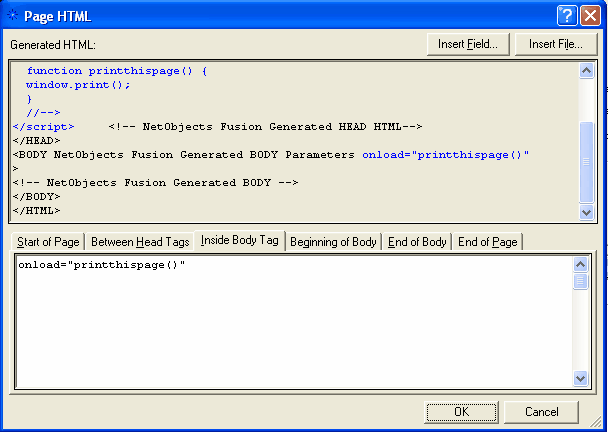
Next click the “Inside Body Tag” tab and add this script as shown below:
You can highlight and copy the script here:
Step 2 - Creating the link to open print page In this tutorial we use a text link - you could activate your link from a button or image as well. NOTE: The “Print Photo” button on the navigation bar is setup as a normal link. While it will work (and the page will print automatically) if the user closes the zero margin page after the print job - they will exit your website. So this way is better Type in the text you want to use to trigger the print job and highlight the word you want to use for the link:
The on the Text Properties screen (F3) click the “Link” button. In the Link Window, select your page to print and then on the “Target” button select “Existing” and then “_blank” as the target. Click the “Link” button to complete the task
When you click the word “here”, a new window will open. Then the onload statement in the body tag will fire the Javascript that you placed in the head of your autoprint page and the print job will start. Windows will still prompt your visitor to select the printer, but the process will be started automatically. That is all there is to it!
Click here to print the page from this tutorial.
We hope you enjoy this tutorial and find it useful!
|
| [Home] [ReleaseNotes] [payok] [paycancel] [CFError] [CFThanks] [ImportEZRound] [Auto Printing] [PDFIFrame] [NewIn3] |
|
Copyright © 2003 - 2022 :: LANSRAD :: All Rights Reserved |


