|
|
||||||
|
|
 |
|
This tutorial will provide you with detailed information about how automatic slice sizes are calculated in EZRound and what factors you need to consider for custom slicing. Factors that affect how close your content can come to the sides are:
Automatic Slicing The default automatic slice size is calculated as:
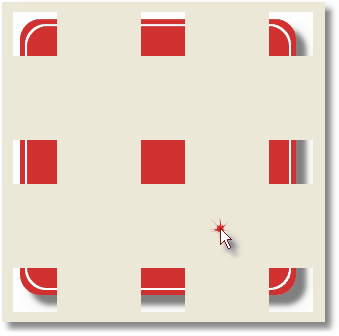
This automatic formula works well in most cases. The fact that some slices are slightly larger than they could be does not matter because the file sizes are so small. However if you really want to use custom slicing to your advantage you need to have a table shape that involves square corners (at least some). Here is a round rectangle shape sliced normally with the corner size set to 20. Note the drop shadow around the red of the image and also the white background padding outside the red area.
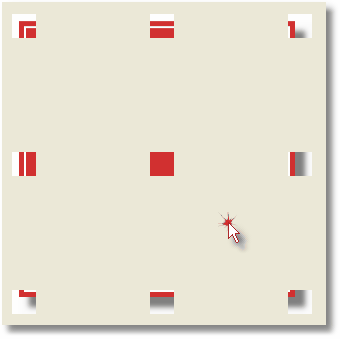
Here is the same shape, set to a square design (Note that EZRound automatically resets the corner size to zero as of version 1.6.1). You can see that the automatically calculated design slices are much smaller. This is because there are no round corners to allow for (other factors - the shadow and background padding are the same).
If you look at these slices, you see that we are as small as we can go because any less would cut into the shadow area (bottom left or top right). Also keep in mind that we are allowing for the background padding all around the design.
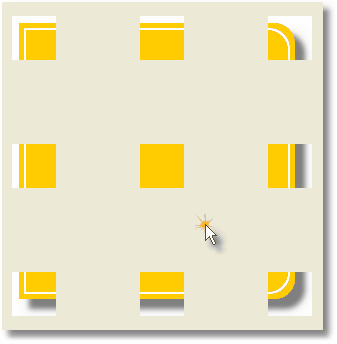
Custom Slicing Now let’s look at a design with a flat side on the left. Here is the automatic slice pattern (all slices are equal). If you look at this design closely, you will see that the only place we can reduce the slice size is on the LEFT side. This is because if we try to reduce the slice on any other side, we will cut into the area needed for the drop shadow.
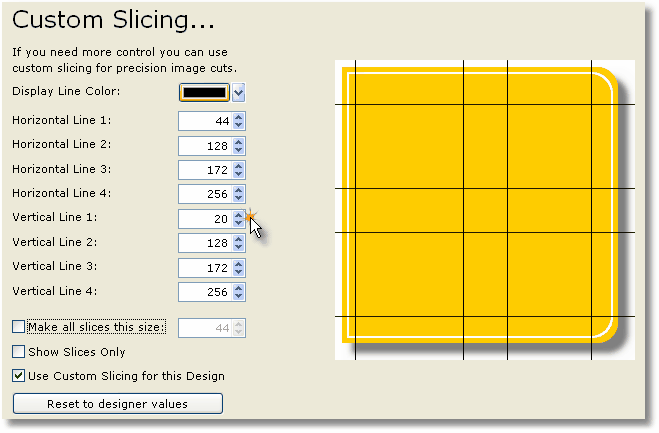
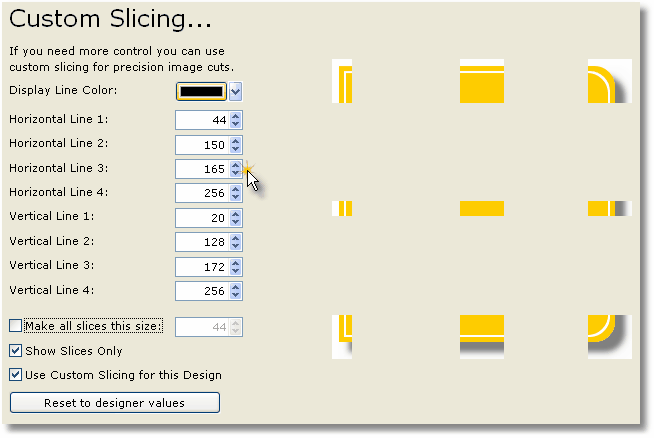
Let’s go to the custom slices menu and check “Use custom slicing” but don't check “Show slices only”. Also uncheck the “Make all slices same size”. This lets you can move the slice lines and still "see" them.
Now when we check the “Show slices only” the result is:
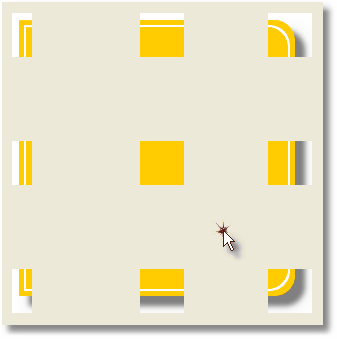
If you look closely at the corners you will see that we have sliced as close as we can without cutting away at the rounded corners. The only other possible place we could make the slices smaller would be to reduce the distance between lines H2 and H3. If we set H2 to 155 and H3 to 165 (the positions could be anywhere in this design as long as they don’t get into the corner space), we get this:
You can see that this is about as tight as you can (or would want) to slice the design. Generally we recommend that unless you are putting very small content (text) in the HTML container, that you use a taller (or default) slice for the area between H2 and H3 just to make it easier to see in your design environment. Summary We hope that this tutorial has given you an insight as to how slicing is done and why. If you are slicing custom imported images from another program, you will need to follow the same basic guidelines.
... The End ...
This tutorial is copyrighted and may not be reproduced or linked without permission. If you are interested in this material, please contact us.
|
| [Home] [Basic Tutorials] [Slice Theory] [Containers] |
|
Copyright © 2003 - 2022 :: LANSRAD :: All Rights Reserved |
